How to Digitize a Restaurant Menu
Step-by-step guide to converting a paper menu into a digital format — no developers, no printing, done in one evening.
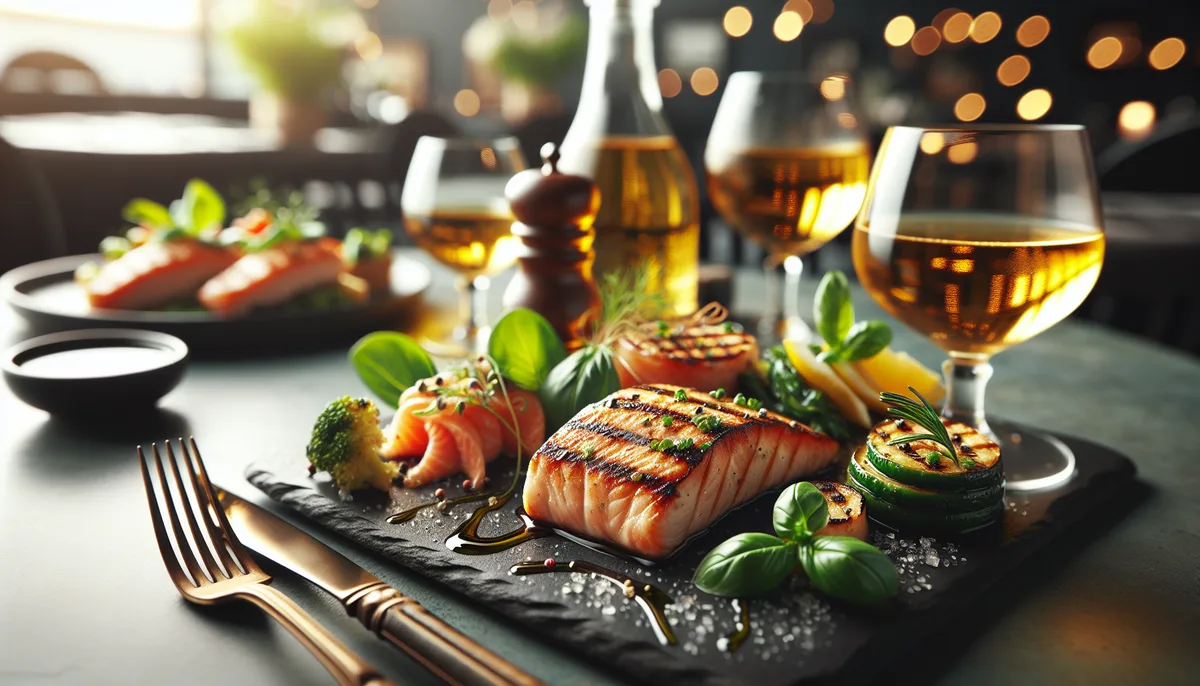
A paper menu becomes outdated the moment a price changes. You send it to the printer, wait for the run, pay for printing — then repeat the whole process a month later. Digitizing a restaurant menu can be done in a single evening, and it stays current for every guest without reprinting.
What "digitizing a menu" actually means
Digitizing a menu means moving your paper list of dishes into a format guests open on their smartphones. Not a PDF, not a photo in a chat app — a live web page with current prices, descriptions, photos, and discounts.
The guest scans a QR code at the table — and the menu opens right in the browser. No app, no sign-up.
The owner updates a price or hides a sold-out item — the guest sees the change within seconds.
For a detailed look at how this works from both the guest's and venue's perspective, see How QR menus work in restaurants.
Step 1: Gather your menu content
Before opening any service, prepare your data. A spreadsheet or text file is enough:
- Categories — starters, soups, mains, drinks, desserts
- Dish name — exactly as you want guests to see it
- Price — the current one, not what it was a year ago
- Description — ingredients, weight, notes (optional, but increases order conversion)
Add photos later — get the structure right first.
Tip: if you have a large menu (50+ items), start with one category. Launch it, confirm everything works, then add the rest.
Step 2: Choose your digital menu format
There are several approaches to digitizing a menu — each with its own trade-offs:
| Format | Pros | Cons |
|---|---|---|
| PDF via QR code | Quick to create | Doesn't update, hard to read on mobile, not indexed by Google |
| Photo in a chat app | Simple | No structure, guests can't search |
| Page in a website builder | Flexible | Requires skill, slow to configure |
| Specialized service | Fast, mobile-optimized, QR code included, real-time updates | — |
For most venues, the best path is a specialized service. It handles mobile layout, QR code generation, and page hosting automatically.
For a detailed comparison of formats with cost calculations, see QR menu vs paper menu.
Step 3: Create an account in Scan'n'plate
Go to scan-n-plate.com and sign in with Google — no separate password needed.
After sign-in you'll land in your dashboard. All your venues and menus are stored here.
Step 4: Add your venue
Click Add venue and fill in the details:
- Name — as guests will see it
- Type — restaurant, café, bar, bakery, coffee shop
- Address and city — so guests can find you
- Working hours — the menu page will automatically show "Open" or "Closed"
- Contacts — phone, Instagram, Telegram
The cover photo can be added later — it affects first impressions but doesn't block launch.
Step 5: Create a menu and categories
Inside your venue, create a menu (for example, "Main Menu" or "Bar").
Then add categories — sections guests browse through. Examples:
- Breakfast
- Soups
- Mains
- Grill & BBQ
- Non-alcoholic drinks
- Bar
Category order can be changed at any time.
Step 6: Add your dishes
In each category, add items:
- Name and price — required
- Description — brief ingredients or notes; builds trust and reduces questions to staff
- Tags — "new", "vegan", "gluten-free", "halal" — guests can filter by these
- Photo — optional, but dishes with photos get ordered more often
If a dish is temporarily unavailable — hide it with a single toggle. Don't delete it: restoring is much faster than re-entering from scratch.
Step 7: Set up add-ons and discounts (optional)
Add-ons — extras for a dish: toppings, sauces, portion sizes. Configured within the category. Price 0 displays as "Free".
Discounts — run on a schedule: days of the week, time of day, or specific dates. Examples:
- Weekday lunch special 12:00–15:00 — −20%
- Happy hour Fridays 18:00–20:00 — −15%
Discounts automatically appear as badges on the menu page at the right time — no manual activation needed.
Step 8: Publish and get your QR code
When the menu is ready — switch your venue to Published status. From that point it's accessible at a permanent link.
Click QR code on the venue card and download the PNG file. Print it and place it:
- On the table — in a stand or under glass
- On the entrance door — guests can browse before sitting down
- At the counter — for guests ordering at the register
A5 works for tables; A4 for the entrance and counter.
The QR code never needs reprinting when you update the menu.
The code points to a permanent venue link — it never changes. Added a new dish, updated prices, hidden an item — guests see the current menu instantly, the code stays the same.
How long does digitizing take?
Real figures from venue experience:
- Small coffee shop (15–20 items) — 20–30 minutes
- Mid-size café (40–60 items) — 1–2 hours
- Full restaurant menu (80–120 items) — 3–4 hours
Most of the time is spent not on data entry, but on gathering current prices and writing descriptions if they didn't exist before.
Frequently asked questions
Do I need a developer or designer?
No. Scan'n'plate is built for owners and managers: the interface works like a regular form. If you can fill out a spreadsheet, you can use it.
What if I don't have photos of the dishes?
You can launch the menu without photos — add them later. The important things are correct names, prices, and categories. One good smartphone photo in natural light beats waiting for a professional shoot.
How often should I update the menu?
As often as prices or dishes change. With a digital menu this takes seconds — there's no reason to keep outdated data. At minimum, review the menu once a month.
Can I digitize multiple menus for one venue?
Yes. For example: main menu, bar menu, and kids' menu — as separate sections inside one venue.
Can guests place orders online?
The Scan'n'plate menu is primarily a showcase: guests see dishes, prices, and ingredients. Order-taking through staff or the register stays as-is.
Digitizing a restaurant menu means entering your data once and never paying for reprints every time a price changes. A small coffee shop can do it in half an hour; a large restaurant in one evening.
Once your menu is live, the next step is optimizing it to grow average order value. Practical techniques — in How to increase average check with your menu.
Try it free — create your first venue right now.